Thursday, March 13, 2014

Easy Buttered and Twice Herbed Potatoes

It's been a while.... School started, business is busy and life happens. I haven't posted something in about 3 weeks, but I am back with an easy and delicious side dish recipe.

 I recently moved to a new apartment and had to adapt to an electric stove, ughhhhhhhh. Anyway, the changes have been challenging but we gotta roll with what we got.

These Potatoes are so delicious and easy to prepare. They are called baby potatoes or butter potatoes, I have seen different names all over the place. Although they are very small in size, the flavor of these babies can not be matched for this recipe. With this method, they really come out extremely crispy on the outside and really, really, really fluffy on the inside. Plus the herb infusion we are making, you have got Gold my man, I mean Gold!!!!!!


The only way that I can describe them is that they are very buttery!!!!!! Do you need anything else, I mean BUTTER and POTATOES!!!!! Naturally happening, oh God can you tell I love these? Well with school and work going on, I have really adapted recipes to make them quick and easy and this is by far my favorite easy and delicious recipe to share. As a matter of fact, every time anyone asks about these, they kinda don't believe how easy it is to prepare. Oh, I have a disclaimer, I tried this same exact recipe on regular cubed up potatoes and the flavor was amazing but it was nothing compared to these babies. Anyways, lets start!

First we are going to preheat our broiler to high. Next we are going to make the first herb infusion for the potatoes. In a pot bring some water to a boil. Add a few bay leaves and rosemary stalks. *Note: I had just moved and did not have rosemary on hand, I used dried oregano and they were just as fabulous.

Meanwhile wash and rinse the baby potatoes. I had to cut some of them in half for the purpose of even cooking. They do not have to be exact, as you can see below, I only cut the really big ones. One of the great things about this recipe is the way the skin crisps up and protects the inside of the potato.


After about 5 minutes of infusing the water with the herbs, lets add the potatoes, that have been washed and rinsed.


Add a few pinches of salt and let them boil away for about 5 - 7 minutes. We don't want to cook them completely at this point, just really want to infuse the herb flavor. You want a knife to insert through with a little challenge.
*Note, the amount I cooked was for two very hungry people, so amounts are going to vary depending on what you are serving alongside or who you are serving these to. I will reflect a basic serving size for 4 people on the ingredients below. I will reflect a serving size of about 1/2 cup per person.

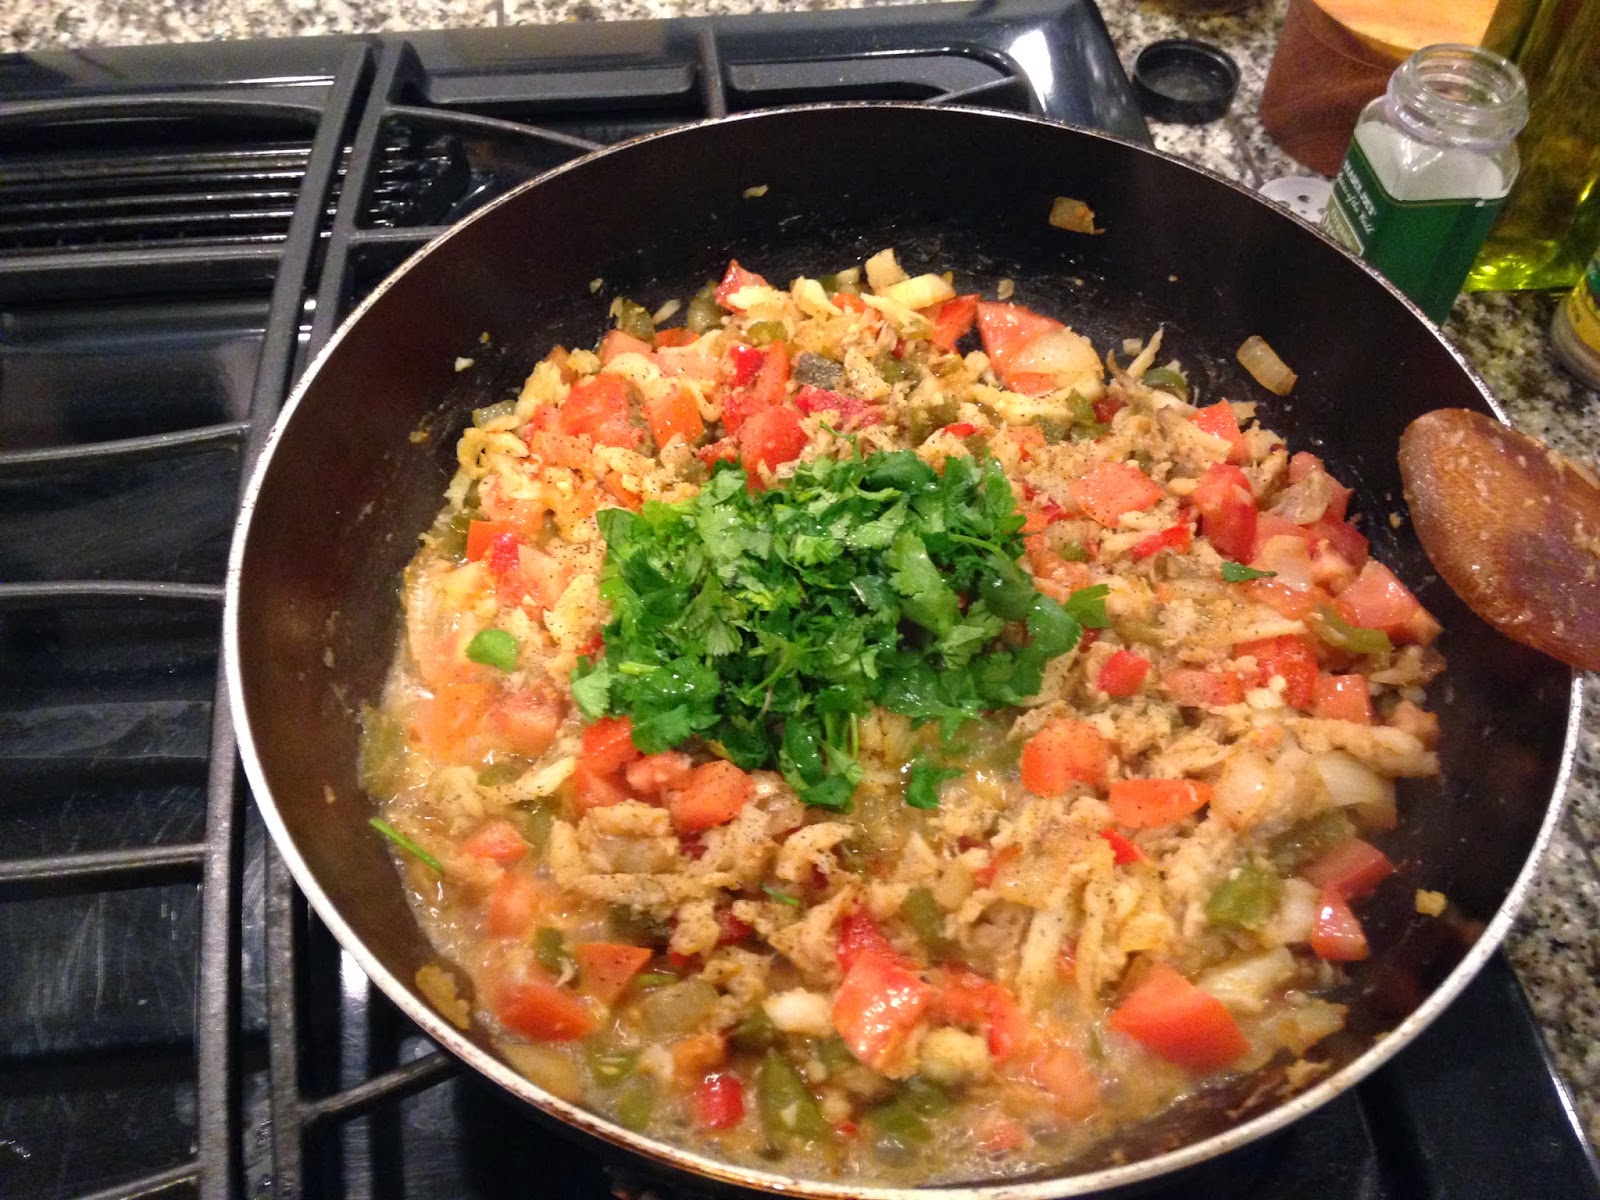
After boiling them shortly, lets rinse them. Meanwhile add some butter, a couple minced garlic cloves, and your favorite herb combination to a pot. I have tried this with so many fresh herbs and they always come out great. My favorites are chives, green onions, and cilantro. Taste is really up to you and what you have on hand. Today I used cilantro, but I wished I had some chives to compliment the butter.
Let it sautee together for a couple minutes just until the garlic is fragrant, don't burn the garlic please. 
Next, add your rinsed potatoes, an mix them around making sure all of them are coated with the amazing herbed butter you just created. Season with salt and pepper if needed.


Mix them around and make sure they are all coated.

Next: put them in an oven safe dish in a single layer and put the under the broiler, after about two minutes or so ( or until you see some color.) mix them around and flip a bit to get the other side browned. Keep an eye on them they will take only a couple minutes per side to brown up and create the crust we soooooooo want to happen.

And Voila!!!!! Amazeness in the form of starch!

I really hope you enjoy these with your family and friends! They really are a hit with everyone I have given them to! :)

Ingredients: This reflects a side dish serving size for 4 - 6 people

  • About 1 lbs of baby/butter potatoes, washed and rinsed
  • 2 - 3 bay leaves
  • 2 - 3 small stalks of rosemary
  • A bunch of an array of fresh herbs, you need about 1/2 cup in total and it really will depend on what you like and what you have on hand. Ex. cilantro, parsley, chives, dill, more rosemary, more oregano...
  • About half a stick of butter
  • 2 - 3 garlic cloves, minced finely
  • Salt and pepper to taste


Saturday, February 1, 2014

Roasted Chicken with Carrots and Potatoes

Comfort food is definitely my favorite type of food to have. Many things can be considered comfort, but a simple roasted chicken with veggies always hits a sweet spot in my tummy!
Now that school is back on, my schedule has gotten a bit more hectic. I have to come up with recipes that are easy and quick to prepare while making sure they are extremely delicious and a pleasure to enjoy. This recipe really hits a home run with my family. I leave it in a marinade for just a couple hours while at school, then in a really hot oven for around 45 minutes, and what comes out is absolutely delicious.

Now I choose to use chicken drumsticks or thighs when making these. First of all chicken drumsticks are everything a chicken breast isn't. They are deliciously flavorful all in itself, they do not dry out, they are very versatile, and extremely cheap.

Look at the price on these! $1.99lbs for organic chicken. Deal!!!!

Anyways, I should start out by saying that I have never made this recipe the same each time. (And I have made this a whole lot) I love this because it truly comes out wonderful every single time I make it. some times I use a dry rub, sometimes rosemary and lemon, sometimes I go even a little Asian with the soy sauce and green onions. The important thing to remember is to adapt the flavors to your own personal taste because it is truly difficult to mess this one up.

So lets get started by seasoning the chicken with a little salt and pepper. (Do not put a lot, we will season every step of this dish, so the whole thing comes out flavorful) Now put your chicken in a large Ziploc bag.
Now we have to cut up some veggies to go in the oven with the chicken and for the marinade as well.

So lets cube up a couple of large potatoes, and around 3 fat carrots. Slice about 2-3 celery sticks. Dice up one tomato. Dice up 1/2 of a large yellow onion, grab a bunch of cilantro, lemons, garlic, olive oil and balsamic vinegar. 

Add the potatoes, carrots and celery to your bag and season with salt and pepper.

Now lets make the marinade. In a food processor, add your tomato, cilantro leaves, garlic cloves, diced onion, olive oil, balsamic vinegar, juice of about 1 lemon, and season with salt and pepper. (Sometimes I add a dash of soy sauce, but be careful with your salt if you do decide to add the soy)


* Do not throw away your lemon after squeezing the juice out. Add the peels to  your chicken, they become extremely caramelized and yummy after going in the oven. 
Now add your marinade to the bag, get out all of the air, close the bag and get ready for some massaging! Now make sure you spend at least a couple minutes massaging the chicken and making sure the marinade is evenly distributed all over the chicken and veggies. In fact, you really wanna get in there good. If some one is watching you, I want it to look awkward!! That is how much you wanna massage the bag.

Now leave it in the fridge for a couple hours. 
(Sometimes, when I remember to do it, I come by the fridge once in a while to flip the bag and give a good mix)

After its been marinating for at least a couple of hours we are ready to start cooking. Around 1 hour before dinner time, Preheat your oven to 375'

Empty your bag into an oven safe dish large enough to accommodate everything in a semi single layer. Make sure the chicken skin is facing up (So it becomes crispy)
Now put this in your oven uncovered. Set your timer to 35 minutes. (The whole thing should take around 45 minutes to 1 hr to cook, but I want you to start checking on the chicken at around 35 minutes.)

Get ready for some torture as you wait, the whole house starts smelling soooooo good! Do not take it out of the oven too soon, please wait until the skin is crispy. It adds a whole other element to the dish.

Now this dish is great because it is a whole meal all in one. My boyfriend however has to have rice with almost anything he eats, so of course I had to make some. That is absolutely not needed though. 
Now for serving portions, I usually count 2 drumsticks per person just to make sure I have enough. Most of the time, because of all the veggies, it is more like one drumstick per person. The serving portions will all range from family to family. This night it was just my boyfriend, my boyfriend's mom,  and I so I made one package with 5 drumsticks. The recipe below will reflect the amount for what I made, but just double it up for a family serving. 

I really hope you try this recipe as it is fool proof. If my little sister can make it, ANYONE can make it! Trust me!

Ingredients:
  • 5 drumsticks or thighs, bone in. (About 2 lbs)
  • About 2 large potatoes, cubed (I used the real big russet potatoes)
  • About 3 large carrots, cubed
  • 2-3 celery sticks, diced
  • Salt and pepper to taste
Now for the marinade:
  • About 1/2 cup of cilantro leaves
  • 1 diced tomato
  • 1/2 onion, chopped
  • 3-4 cloves of garlic
  • About 1/3 cup of extra virgin olive oil
  • About 1/4 cup of balsamic vinegar
  • Juice of 1 lemon
  • Salt and Pepper to taste
  • 2-3 tblsp of soy sauce (Remember, sometimes I add it and sometimes I don't, be careful with your salt content)


Sunday, January 26, 2014

Brazilian Feijoada (Black bean stew with pork and sausage)


This is by far one of the most flavorful dishes that i make in the kitchen. I absolutely LOVE beans!!!! Kidney beans, canelini beans, black beans. I love them, and the fact that black beans are REAAAAAALLY good for your health is just a plus.

Now, beans can be very bland and the complete opposite of appetizing if not done the right way. You really have to take care of them and in this dish we will  let them cook for a while and then we will enhance its flavor. Guess what we are adding? C'mon guess!!! BACON!!!!! Oh yeah baby, I love bacon and adding it to this recipe will almost not affect the nutritional value of it at all. Now, if you can not eat bacon or do not like bacon (What?!!!!) then its best to leave it out. Once, when I was on some heavy medication, I tried using turkey bacon and things did not go well. Just a heads up so watch out!!!!!

So to start this recipe we will need a 1 lbs package of dry black beans. Lets put that in a big pot, add water, half and onion, a couple bay leaves. Put the lid on and let it boil away for about 45 min - 1 hr. During this cooking process you will need to come by and mix the beans every once in a while, and most likely add water as the cooking takes place. Do not be scared to add too much water, at the end of this dish we will spend some time thickening the sauce. Anyways, after about 50 minutes my beans were at this point.

So I took the lid off and reduced the heat while I prepped the next ingredient.

I took a 2 lbs pork loin and cut it into 2 inch pieces, salt and peppered both sides and browned them with about 2 tblsp of olive oil in a skillet over high heat. (Do not use pork tender loin, it will fall apart with this method.)

After browning, I removed them from the skillet and added to the beans. I again put the lid on, brought mixture to a boil, then reduced the heat to medium and let it go for another 35-45 minutes.
After that cooking, your meat should be tender but not falling apart.

Next step is to add some great flavors to this dish. We are going to slice a couple links of sausage and brown both sides in a skillet over high heat. (Use the same one you did the pork, add more olive oil if necessary)
Add them to the pot and mix.

Next, slice 3-4 strips of thick cut smoked bacon and sautee over medium high heat in that same skillet we have been using. After all the fat has rendered and the bacon starts to become crispy, add 1 chopped onion and sautee for another 4 min or so. Then add your chopped garlic and let it sautee for only a couple  minutes.

Add this mixture to your beans.

As you can see there is still plenty of water in the pan.

After adding your bacon mixture to the beans, season with salt and pepper. Bring mixture to a boil over high heat, let it boil for about 5 minutes, then reduce your heat to medium,cover the pan and let it thicken for about 30 minutes or so.

After the mixture has thickened to your preference, taste for seasonings and adjust.

Serve over rice and enjoy.

Ingredients:

1 lbs of dry black beans
2 links of smoked sausage
2lbs of pork loin
2 onions divided
2-3 bay leaves
3-4 strips smoked bacon
6-7 fat cloves of garlic
Salt and pepper to taste


Wednesday, January 15, 2014

Creamy Smoked Salmon Pasta with Shrimp and Scallops


 Whenever I make this dish, there are always a few things I have to do. First of all, has to be a day in which I do not mind eating a bunch of delicious calories (CREAM!!!!!!!!!!!!!). Second, I have to invite the mom-in-law, she absolutely loves this dish and will damn me if she does not get any.

Smoked salmon is definitely one of my favorite things to use in the kitchen. From a great sushi roll to a beautiful smoked salmon bruschetta, this item can not go missing from my fridge. I always have it in stock because I truly do love it. When it comes to the brand, I really enjoy the one from whole foods, but everyone I know has their own favorite. For this recipe, which feeds 4, you will need 4 oz of smoked salmon.

Before we start making the sauce, we need to start prepping our ingredients. When cooking seafood,I really like to get the seafood from the market the same day I will cook it. So I stopped by the grocery store and picked up some shrimp and scallops. I washed them and drained well, after that,  I laid them on paper towels to make sure they were really dry before cooking.
About 1 hour before I wanted to serve dinner, I took the shrimp and scallops out of the fridge and seasoned them with salt and pepper. I brought a skillet to high heat, drizzled olive oil and seared them. The shrimp should take about 1-2 minutes per side and the scallops about the same. (Do not over crowd the pan, as they will steam and not sear.) Remove from heat and set aside, do not wash the pan.

*At this point, fill a large pot with water and set at medium high heat (this is for the pasta)

Next Step is to chop up some garlic, my family and I really like garlic, I mean reeeeeally like garlic so I use quite a bit, but for regular people, I recommend 3-4 cloves.
In the same skillet you seared the seafood, drizzle about 2 tablespoons of olive oil and bring to temp over medium high heat, after about 1-2 minutes, throw in your minced garlic and reduce heat to medium, let garlic cook just about 1 minute until fragrant, then pour in your cream. 
Next is to chop up your smoked salmon, mince it very finely, almost like a paste, add your salmon to the cream and whisk well to make sure everything is mixed.
Add about 3 tablespoons of parmesan cheese and 1 tablespoon of tomato paste for sweetness. (The parmesan will act as the salt for this recipe.) Mix well, cover with lid, and keep heat at medium low.
We need to reduce and thicken the cream mixture, this should take about 15 minutes. Make sure you come by the pan and mix it every once in a while to make sure the mixture does not burn or stick to the bottom. 

Half way through the reducing process, salt your pasta water well (it should be boiling by now,) throw in your pasta ( I use either thin spaghetti or linguine fini for this recipe,) and follow cooking directions on package. Reserve 1 cup of pasta cooking water, then drain well.

After your sauce has reduced enough to coat the back of a wooden spoon (should be about the thickness of Nectar, not as watery as cream but not as thick as honey, depending on the heat temperature this will take more or less 10 minutes,) add your shrimp, scallops, cooked pasta and 2 tblsp of chopped parsley. Mix well together and serve. 


*Note: if the mixture is too thick, try adding a little pasta water. Always helps.


Ingredients:
  • 4 oz smoked salmon, finely chopped
  • 3-4 cloves of garlic
  • 1/2 pint of heavy cream
  • 3 tablespoons of grated parmesan
  • 1 tablespoon of tomato paste
  • 1 lbs of shrimp, large (skinless, deveined)
  • 1/2 lbs of scallops (If you use bay scallops it is 1/2 lbs, if you use large U10 scallops it is 1 lbs)
  • Olive oil
  • 2 tablespoons of chopped parsley
  • 1/2 lbs of pasta (noodles are really important in this recipe, I tried using another type of pasta once and it did not work well)
  • Salt and pepper to taste

I really hope you enjoy this recipe as much as my family and I do.


Friday, January 10, 2014

Mediterranean Stuffed Cabbage Leaves

A simple dish that can look elegant when presented the right way :)


How to stat talking about this recipe. First of all, it is entirely simple and cost effective to make. All you need is about 45 minutes in the kitchen and you will end up with a beautifully presented meal that costs almost nothing to prepare.

Cabbage, ground beef, and spices! That  is the basis of this dish that I have made my own by adding a few Mediterranean flavorings to it, which make it delicious to enjoy with my family.

First of all, we need a full head of cabbage. It makes it easier to tear away the leaves if we remove the core and submerge the entire thing in some boiling water for about 5 minutes.
Sometimes, as you get into the inner leaves, they may still be a little hard, just re-submerge them in hot water again for a couple minutes, and they should become malleable. 

Now, while you have the cabbage in the water take advantage of the 5 minutes to make the ground beef mixture. Mix together ground beef, green onions, white onions, garlic, mint, tomato sauce, rice, and some olive oil. Season with salt ad pepper.

*It is always best to work with very cold meat, do not over mix as the mixture will become tough once cooked. 

Now that we have our ground beef mixture and our cabbage leaves on a pile we are ready to assemble. Grab about 1/2 - 1/3 of a cup of ground beef mixture and 1 cabbage leaf. Place the meat at the very end corner of the leaf ( the corner that would be the core ) and roll the leaf into a little package. This is better described with pictures, so........
Secure with a tooth pick and place in a wide skillet.

Repeat the process until all the beef mixture is done. This recipe should yield about 14 normal bundles and a couple small ones. I used two pans to cook this.

After you have placed all the bundles in the pans, season with salt and pepper. Top with the rest of the tomato sauce and enough chicken stock to reach half way up the bundles. Place the lid on the pans and cook over medium high heat for about 30 - 35 minutes.
I topped mine with a little green pepper just because I had some left over from the previous night, not needed at all.

After all that cooking, remove the lid and let the liquid reduce to a thick sauce, so you can drizzle over the bundles. Now this equals about 14-15  bundles. Usually I just eat about 2 and a small salad on the side. My boyfriend however can eat about 5-6, so when there are more than about 5-6 people eating I usually make a simple white rice to accompany the cabbage rolls.

Now, any food can be boring if not presented the right way. I really do like to make pretty plates, even if it is just Denis and I. The whole thing just makes dinner more of an experience instead of a " I have to feed my family so they don't starve thing."


Ingredients:
  • 1 whole cabbage head
  • 2 lbs of ground beef ( I use the 90-10 kind )
  • 1/2 cup of mint leaves ( semi packed )
  • 4 tablespoons of chopped green onions
  • 3-4 cloves of minced garlic
  • 4 tablespoons of chopped white onions
  • 10 tablespoons of tomato sauce ( 3-4 tblsp for meat mixture and the rest to top the bundles once they are in the pan )
  • 2 tblsp of extra virgin olive oil
  • 1/2 cup of raw rice
  • About 3-4 cups of chicken stock
  • Salt and pepper to taste


Sunday, January 5, 2014

Portuguese Cod Fritters

These little salty, deep fried balls of awesomeness are fully packed with cod flavor. Cod is one of those fishes that if you have had it you know it. The flavor of the fish is unlike any other fish I have ever tasted. Not as fishy as salmon but not as mild as tilapia. Not as fatty as sea bass, but able to hold its own in any method I have tried so far.
The following recipe is done with salt cod, which is cod fillets preserved in salt. This adds to the already beautiful flavors of the fish. Do not worry, we will leave the cod in water for sometime, to get the excess salt out of the fish. You can find cod in pretty much any supermarket these days, salt cod might be a little rarer. I have been able to find it at every Whole Foods, Central Market, and every Asian grocery store I have been to.
This is what the package looks like. I got this one from the Asian Food store, and it is already skinned and boned.

Now, this recipe is very simple to make but there are a couple steps extra than most recipes do, still very simple. Every time you are messing with salt meat, you have to desalt the item. We can do this very simply, take the filets out of the bag, rinse with cold water,and place in a container. Cover the filets with water and leave in your fridge overnight. That will get all the excess salt out of the fish, after 24 hours, it will look like this.
Now we are ready to start.

Step 1. Shred the fish, it is very easy to do with cod, just pull with your hands and it should come apart.

This is what it will look like after you are done. Now place this back in the fridge until we are ready to use.

Step 2. Chop up some veggies. I use red bell peppers, onions, green peppers, tomatoes, and garlic. Chop the bigger veggies into chunks, and mince the garlic. Add the onions, and peppers to a pan with olive oil over medium high heat, and let it saute and caramelize. After about 5 - 7 minutes your peppers should be much softer, now add your garlic, wait one minute then add your tomatoes and the shredded cod. Let it soak up all flavors for about 5 minutes, then add about 1/4 cup of chopped cilantro, 2 tblsp of tomato paste, and 1/2 cup of water.
Add salt and pepper to taste, mix well, and cover with a lid to let the cod cook through and liquid to absorb. This should take about 20 minutes, but come by and mix the mixture every 5 minutes or so just to make sure it is not sticking to the bottom of the pan.

Step 3. Peel about 3-4 potatoes and boil until softened. We need about 3 cups of mashed potatoes per 1 lbs of cod. I use a ricer to mash my potatoes, makes the process much easier.
As you can see, I really let the cod mixture dry out. We can not have any liquid because we are making balls with these and the liquid will not let the balls come together. 

Step 4. Combine cod mixture with the potatoes. I usually start with about 2 cups of potatoes, and taste as I go. Usually takes about 3 cups, but it may take a little more or a little less.
This is what the mixture looks like after mixing. At this point taste for seasoning and adjust. You may add cayenne if you would like a little spicy kick, but usually I just dash a little hot sauce after they have been fried.

Step 5. Now grab about 1 tblsp of mixture, form into a ball and roll through some breadcrumbs. I like to use Panko (Japanese breadcrumbs) because they are extra crispy, but any unseasoned breadcrumbs will do.
Now we are ready to fry. Bring canola oil to a temp of 350' over medium high heat. (I have a trick to this if you do not have a heat thermometer. It is stated in my fried calamari post)
Fry until golden brown and drain on paper towels. Serve with lime or lemon wedges and hot sauce if preferred.


Enjoy!!!!!


Wednesday, January 1, 2014

New Years Eve Dinner at Home

5-4-3-2-1!! Happy New years everyone!!!!!!!!! It is 2014, I can not believe it is already 2014. Time seems to be going by way too fast. But, that is not important right now, what is important is what I had  for dinner last night. Two words, FILET MIGNON!!!!! Yum. If I am going to stay at home and cook on New Year's Eve, then might as well do it big!!!!

I decided around 7:00pm last night, that going out and venturing all the drunk kids out just really did not sound like anything I wanted to do. So, I stepped out of my jammies and headed to Central Market, where I was greeted by a lovely meat guy, who pointed me in the direction of some beautiful 2 inches thick prime filets.

Get ready for some Steakage 101!!!!

Oh that marbling!!!!

Now, anyone that knows a little about a kitchen knows that a prime filet should be enjoyed at a perfect pink center right at medium rare. In order to get that temperature with my babies, I cooked them over a Really High Heat (450' F to be exact) on my grill, and 5 minutes per side gave me perfect results. I can usually tell the doneness of my steaks by touching them and feeling for the firmness, but I would highly recommend investing on a meat thermometer and measuring the inside temperature. A good one costs about $7.00 at Target and it is something very useful in the kitchen.

Now since we have gone through the method of cooking, and temperatures, etc...the recipe that follows is for the secrets of a prime steakhouse. While working in the restaurant business, I made a lot of friends in the kitchen. Anything from free food to free recipes could be achieved with just a bat of the eyes, so I took advantage of it ;)

There are a couple of things chefs do to your steaks. The seasoning before cooking and the compounded butter after the cooking is done.

For the secret seasoning, just mix in a container:

4 teaspoons of kosher salt (DO NOT use table salt on this, please)
2 teaspoons of freshly ground black pepper
1 teaspoon of paprika
1/2 teaspoon of garlic powder
1/2 teaspoon of onion powder

Keep this in your pantry, it comes in very handy in my house.

Now for the compound butter:

3 tablespoons of softened regular butter
2 large cloves of garlic, grated or finely minced
1 tablespoon of the herb of your choice. I have tried parsley, cilantro, and chives and all came out delicious
Again mix all these ingredients together and keep in the fridge until ready to use.

Now, while preparing my meal last night, I was also hitting the booze so I completely forgot to get a picture of a crucial step in the steak cooking process. The seasoning shot! Most people make bland steaks because they just do not put enough seasoning on the beauties. So I went to good old Google and got a picture of how your steaks should look after seasoning.


Make it look like this.

Now lets put everything together. About 1 hour before you want to eat, pull your steaks out of the fridge and season both sides with the secret seasoning, generally as illustrated above. Leave the steaks out of the fridge and let it come to room temperature.

30 minutes later, turn on your grill to high heat.
After about 15 minutes preheating, you are ready to start cooking.
(So the steaks rested outside of the fridge for a total of 45 minutes)

1. Lightly oil the grates of your grill and place steaks. Keep the lid of your grill closed so the temperature inside remains hot.
2. I cooked 5 minutes on one side, flipped the steaks and cooked an additional 4 minutes on the other side.
3. Grab your butter and place about 1 tablespoon of the mixture on each steak while still on the grill and cook for just about 1 more minute. (just to let the butter melt a bit)
I cooked my steaks exactly 10 minutes total, but cooking times will depend on the thickness of the steak and on desired doneness.
4. Remove steaks to a plate and cover with foil, let it rest about 5-7 minutes before even looking at it. (For God's sake, DO NOT take a knife to the meat right after it comes out of the grill. If you do that all the yummy juices will come out)

After the steaks have rested, you are ready to eat. I served mine with buttered, herbed potatoes and asparagus. I really hope you enjoy this recipe and hopefully this method will work for everyone who tries.

This turned out Wonderful!!!!

I really wanted to show you guys the center of the filet, look how yummy!!! My family and I thoroughly enjoyed this meal. Hope you try it out and Happy New Years to everyone.